Google Forms
0 Guide

How to Make a Google Form Public

This is an Arcade

Learn how to make a Google Form public and anonymous so anyone with the link can respond - no sign-in, email, or account required.

1. Open your form and click the Share icon
Go to forms.google.com, open your form, then click the Share icon in the top right corner.

2. Change Responder view to Anyone with the link
In the Share settings, if Responder view is set to Restricted or shows your organization, click the dropdown and select Anyone with the link.

3. Click Done to confirm access changes
Click Done to save your changes and exit the Share modal.

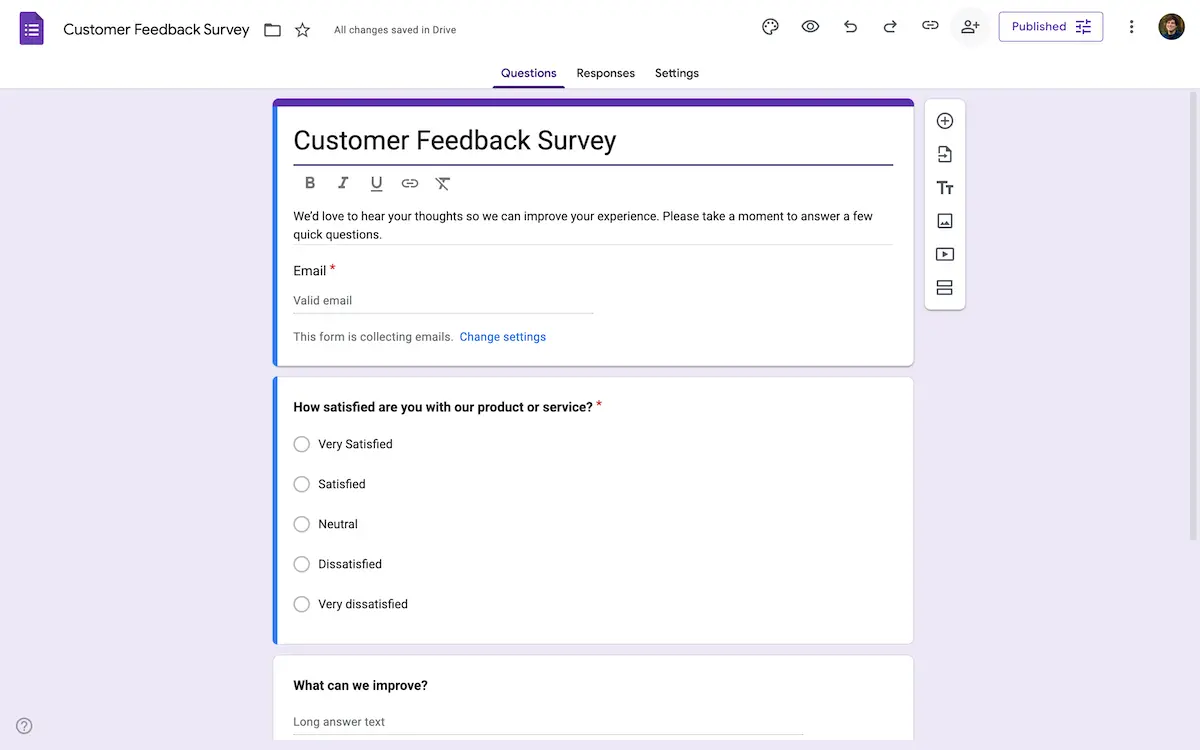
4. Go to the Settings tab
Click the Settings tab at the top of the form editor to configure response collection settings.

5. Open the Collect email addresses dropdown
Scroll down and click the Collect email addresses dropdown under the Responses section.

6. Select Do not collect
If it's set to Verified or Responder input, choose Do not collect so email is not required from public users.

7. Turn off Limit to 1 response
Toggle off the Limit to 1 response option to remove the email sign-in requirement.

8. Your form is now public
Anyone with the link can now view and submit your form without needing an account.

Google Forms
0 Guide

Ready to create quick,
interactive product demos?

Sign up
– it's free
{ "@context": "https://schema.org", "@type": "HowTo", "name": "How to Make a Google Form Public", "description": "Learn how to make a Google Form public and anonymous so anyone with the link can respond - no sign-in, email, or account required.", "keyword": ["Google Forms", "Share"], "step": [ { "@type": "HowToStep", "name": "Open your form and click the Share icon", "text": "Go to forms.google.com, open your form, then click the Share icon in the top right corner." }, { "@type": "HowToStep", "name": "Change Responder view to Anyone with the link", "text": "In the Share settings, if Responder view is set to Restricted or shows your organization, click the dropdown and select Anyone with the link." }, { "@type": "HowToStep", "name": "Click Done to confirm access changes", "text": "Click Done to save your changes and exit the Share modal." }, { "@type": "HowToStep", "name": "Go to the Settings tab", "text": "Click the Settings tab at the top of the form editor to configure response collection settings." }, { "@type": "HowToStep", "name": "Open the Collect email addresses dropdown", "text": "Scroll down and click the Collect email addresses dropdown under the Responses section." }, { "@type": "HowToStep", "name": "Select Do not collect", "text": "If it's set to Verified or Responder input, choose Do not collect so email is not required from public users." }, { "@type": "HowToStep", "name": "Turn off Limit to 1 response", "text": "Toggle off the Limit to 1 response option to remove the email sign-in requirement." }, { "@type": "HowToStep", "name": "Your form is now public", "text": "Anyone with the link can now view and submit your form without needing an account." } ] }